 FlashBoards Learn
- Learn
- Directing & Staging
- Coverage
Directing & Staging · Film language
Coverage
Also called: scene coverage, shooting coverage
Coverage in film is the complete set of shots recorded for one scene: the master, two-shots, over-the-shoulders, singles, close-ups, inserts and reactions. Each angle repeats the same action, so the editor can choose the pace, the emphasis and the best performance in every moment instead of being locked into one take.
- What it does
- Gives the editor matching angles of the same action, so rhythm and emphasis are decided in the cut.
- Use it when
- Dialogue and blocking-heavy scenes where performance, timing or length may change in post.
- Watch out
- Setups that break the 180-degree line, mismatched eyelines or lighting, or actions that don't repeat.
- Try this prompt
Over-the-shoulder coverage shot, 50mm, camera behind his right shoulder, she faces lens-left, same kitchen lamp light
What is coverage in film?
Coverage is everything the camera records for one scene beyond a single take, and one of the basic tools of directing and staging. A crew usually starts with a wide master shot, then moves in and plays the same lines and blocking again from tighter setups:
- Master: the full scene, wide enough to hold everyone.
- Two-shot: both actors, closer.
- Over-the-shoulders: one on each character, past the other's shoulder.
- Singles and close-ups: one face, at matching sizes on both sides.
- Inserts: hands, props, a letter.
- Reactions and cutaways: listeners, the room, the crowd.
Because every setup records the same action, a line can start in the master, finish in a close-up and land on a listener's face without the cut showing.
Why do directors shoot coverage?
Coverage buys choices. A weak line in the master can play over the listener's face. A key beat can be saved for the scene's first close-up. Much of editing a dialogue scene is choosing among these angles line by line.
Coverage also controls feeling: wide setups give geography, and tighter ones raise the pressure as the scene builds. A well-timed reaction shot often says more than the line that caused it.
The cost is time: every setup means moving and relighting. Alfred Hitchcock was known for shooting only the pieces he planned to use, which left little room to recut his films. Most productions plan a shot list of the pieces each scene needs.
How to shoot coverage
Lock the line. Decide where the axis of action runs before the master and keep every setup on one side of it. That's the 180-degree rule.
Go wide to tight, one side at a time. Shoot the master, then the two-shot, then everything facing actor A (OTS, single, close-up), then turn around for actor B. You light each direction only once.
Match the pairs. Use the same lens, height and distance on both sides: for example, a 50mm OTS each way and 85mm close-ups each way.
Keep eyelines tight. In singles the actor looks just past the lens, on the side where the other character stands. Put the off-camera actor there to feed lines.
Overlap the action. Start each setup a few lines early. Repeat business (the sip, the chair scrape) on the same word every take so the cuts on movement match. Grab inserts and room tone before you wrap the set.
Coverage vs. master shot vs. shot reverse shot
The master shot is one piece: the wide take of the whole scene that the other angles are cut into. Coverage is the whole package, master included. Shot reverse shot is an editing pattern built from part of that package: matched OTS shots or singles from opposite ends of the same axis, cut back and forth. A scene can have a master and no reverses, or reverses and no master.
Coverage examples in film
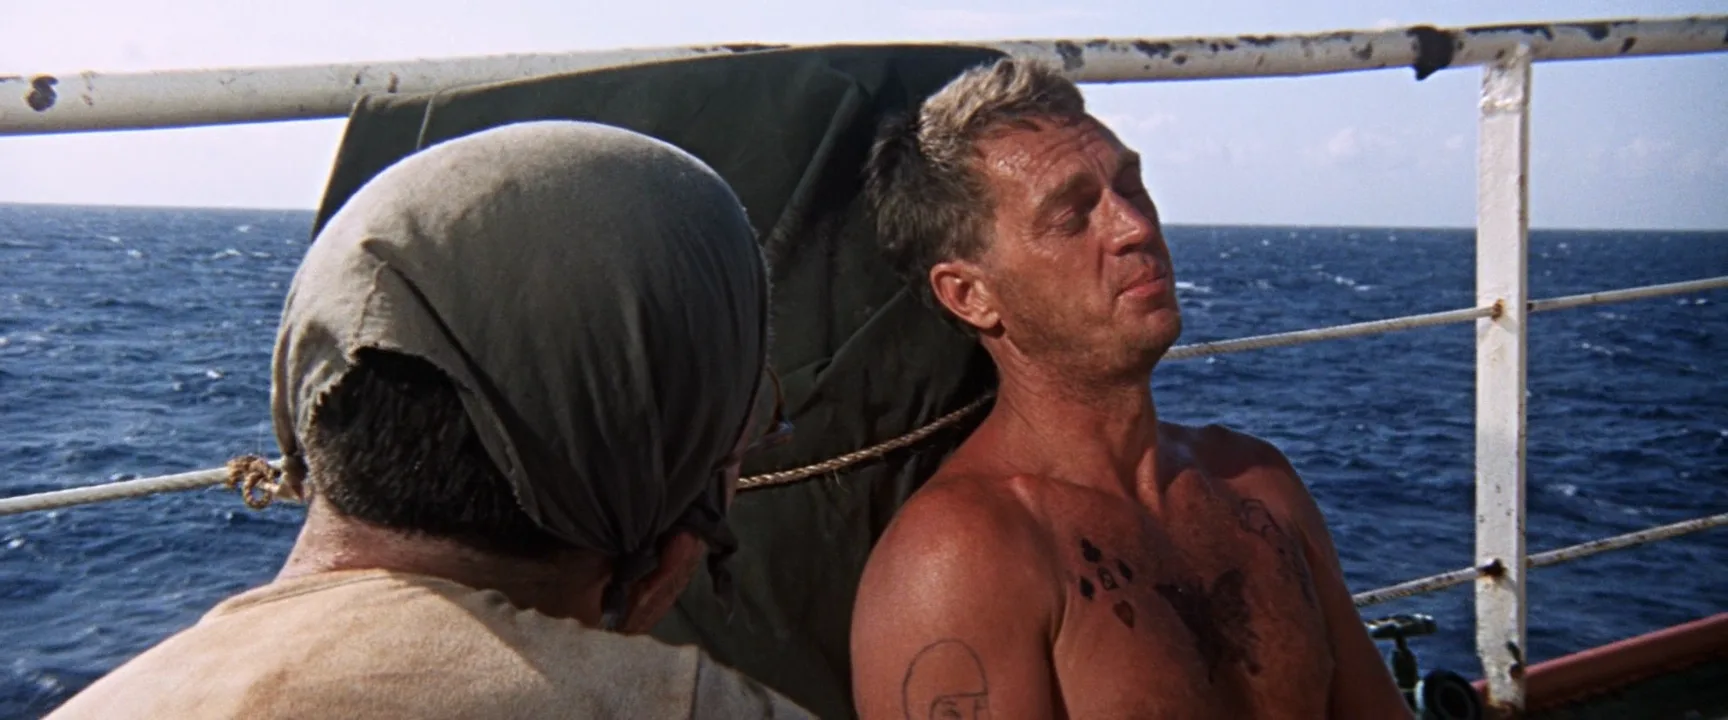
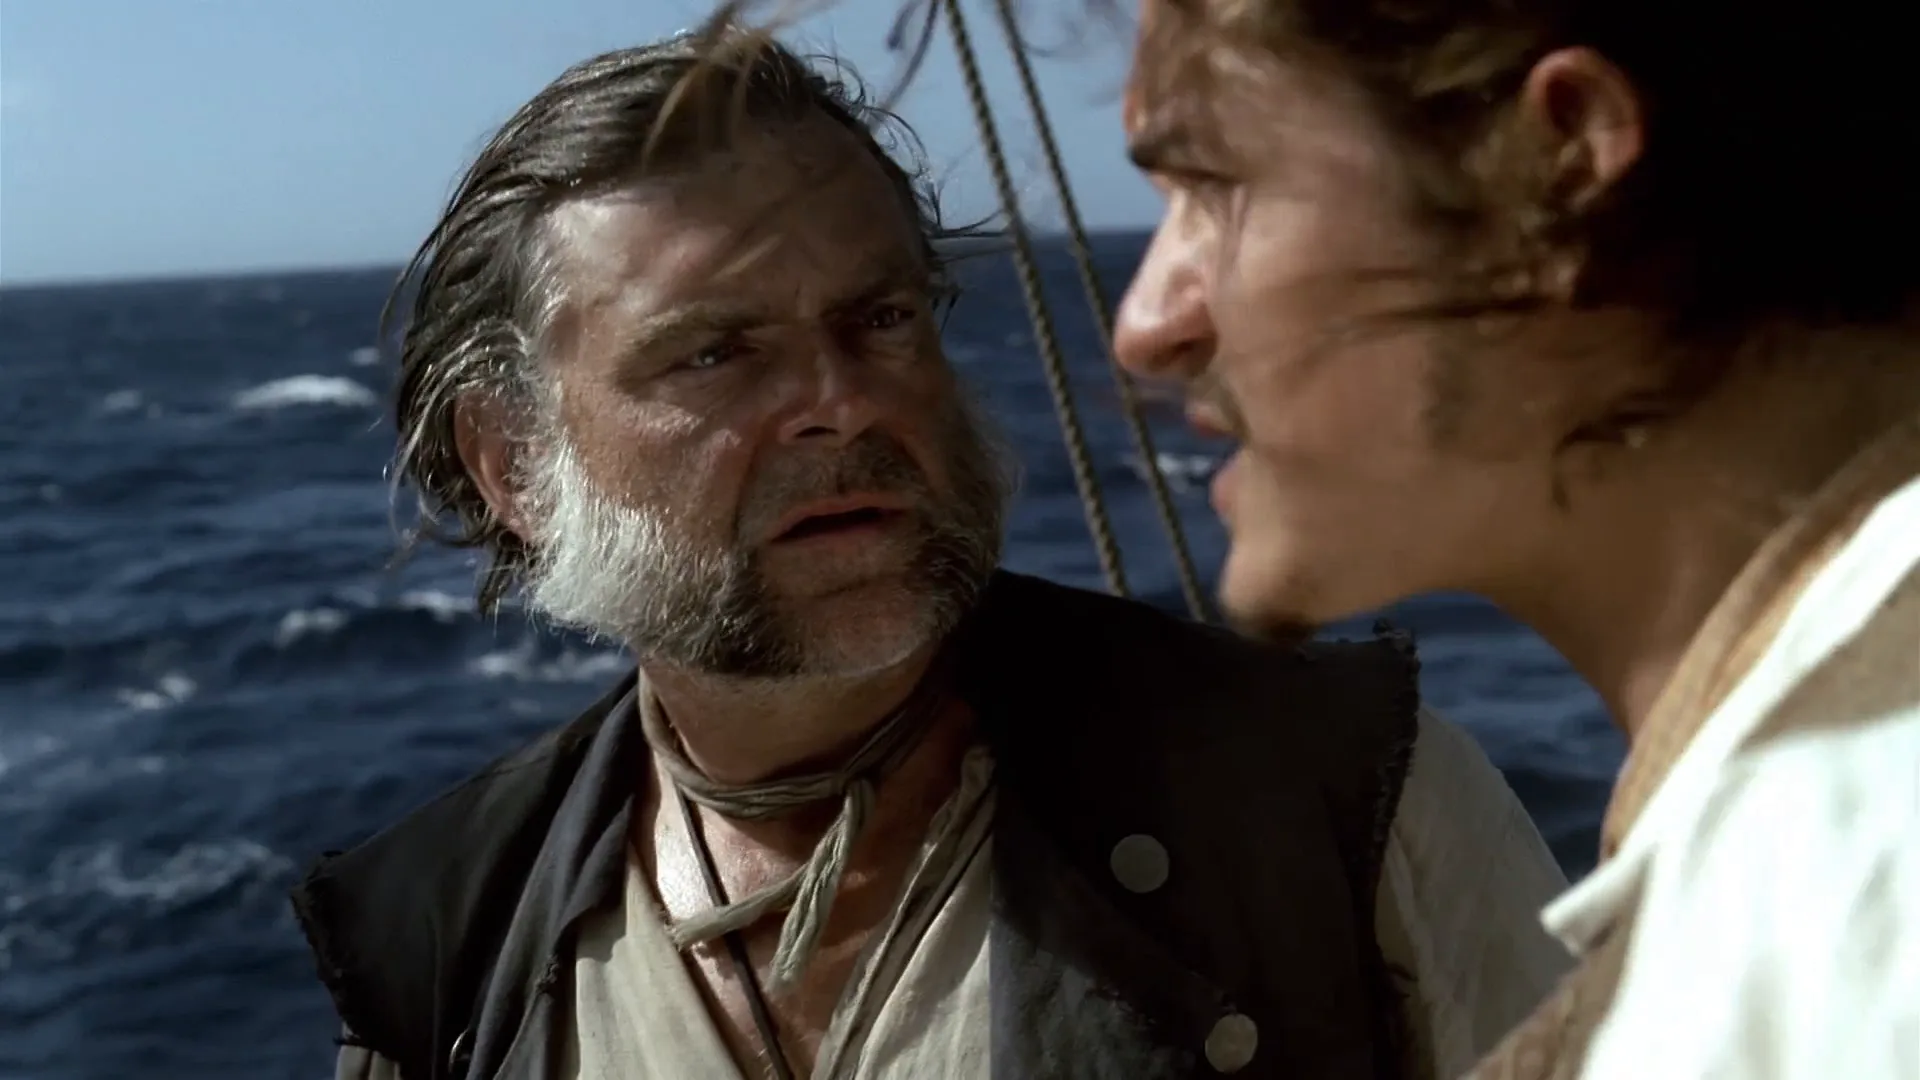
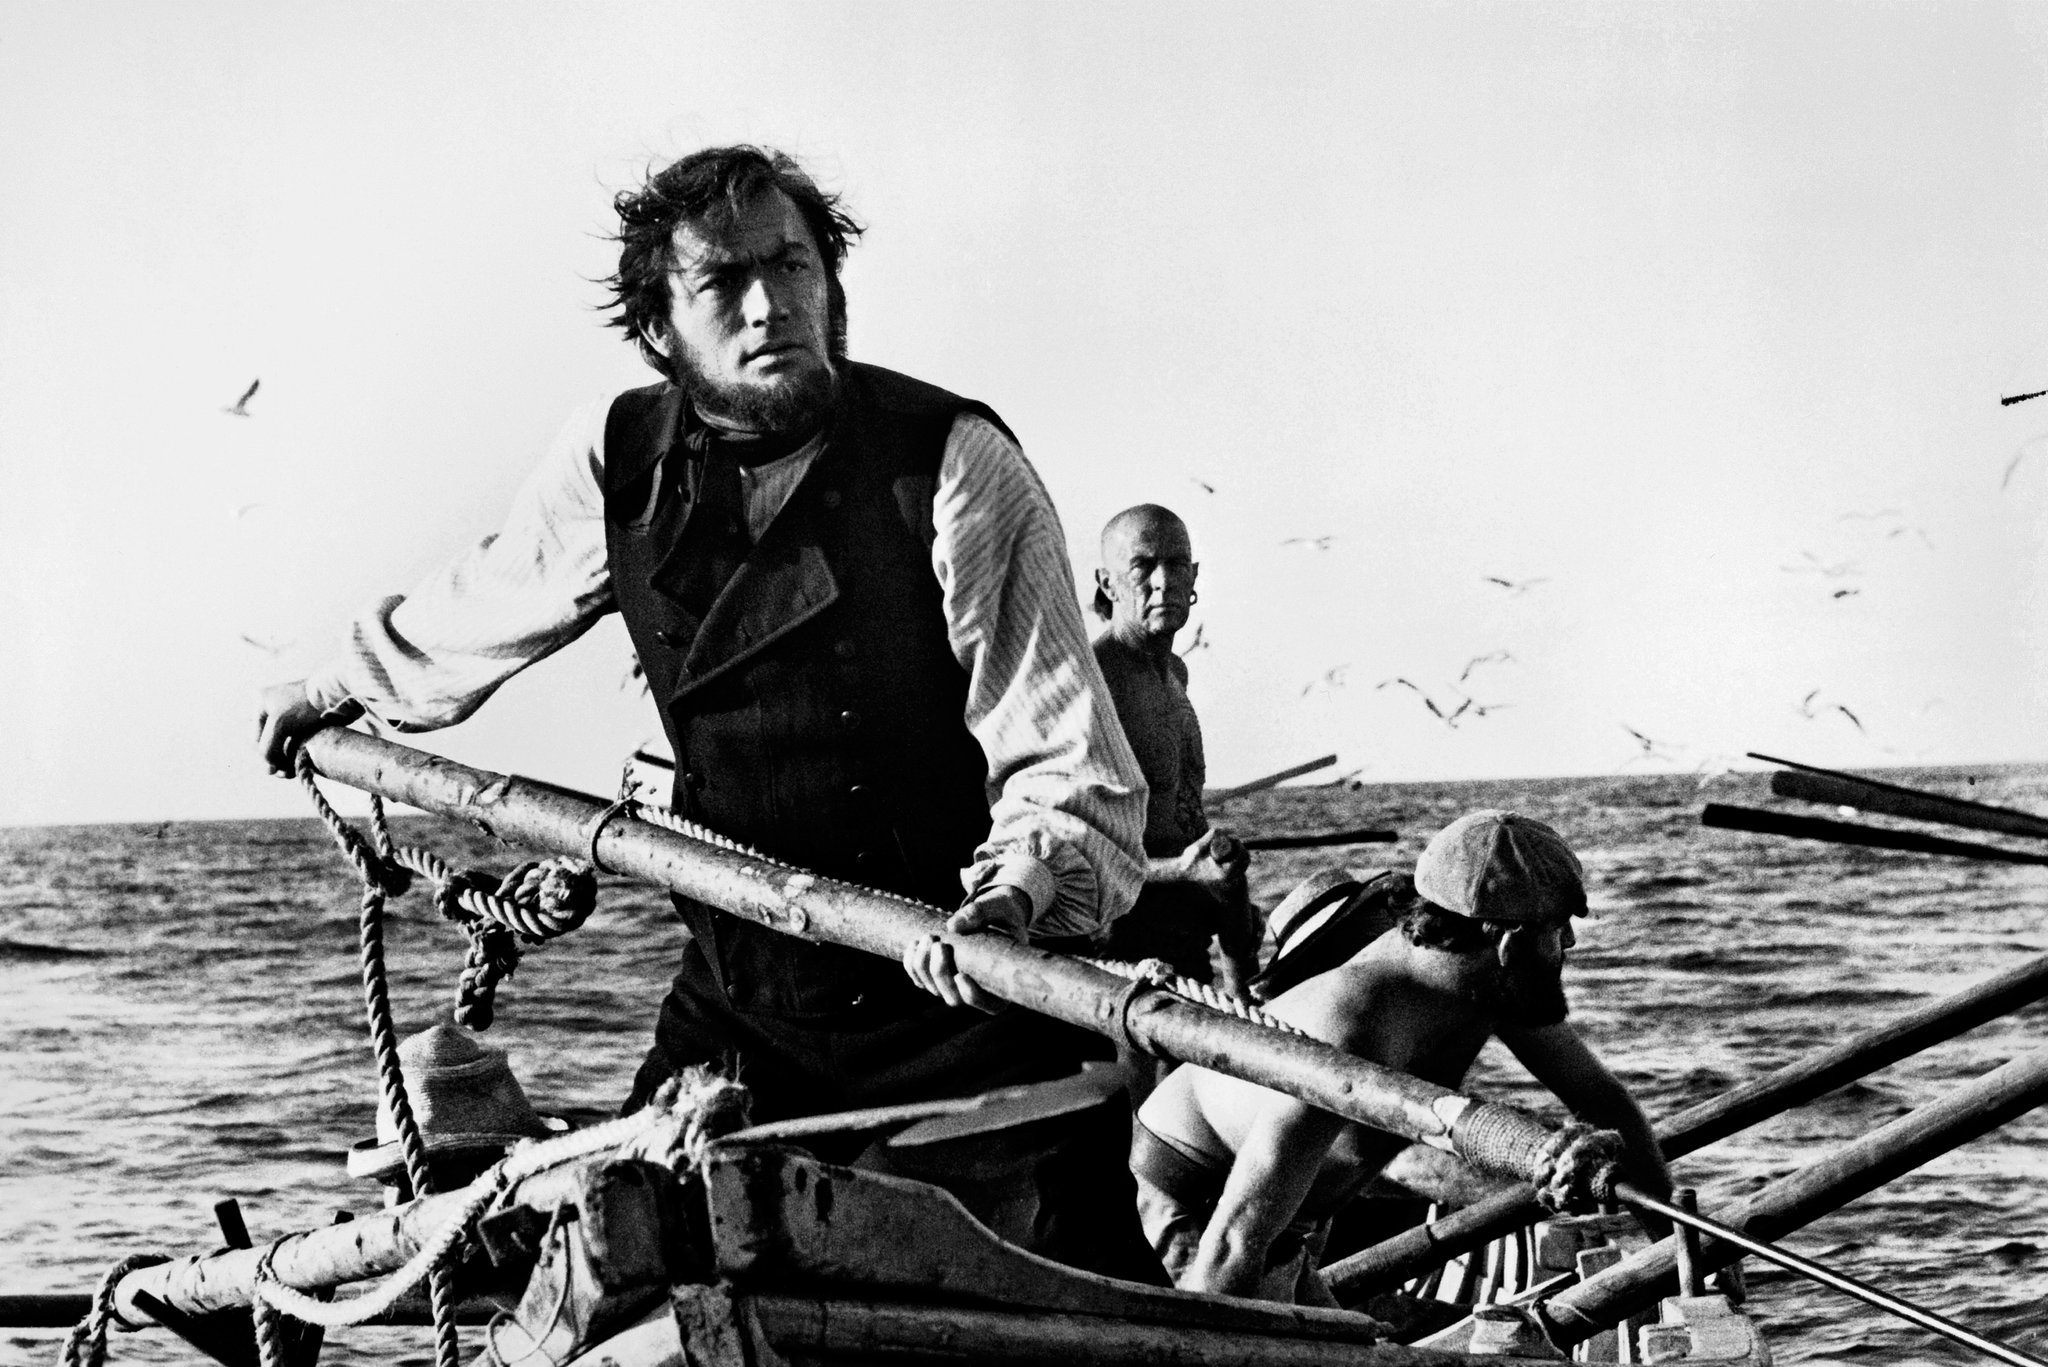
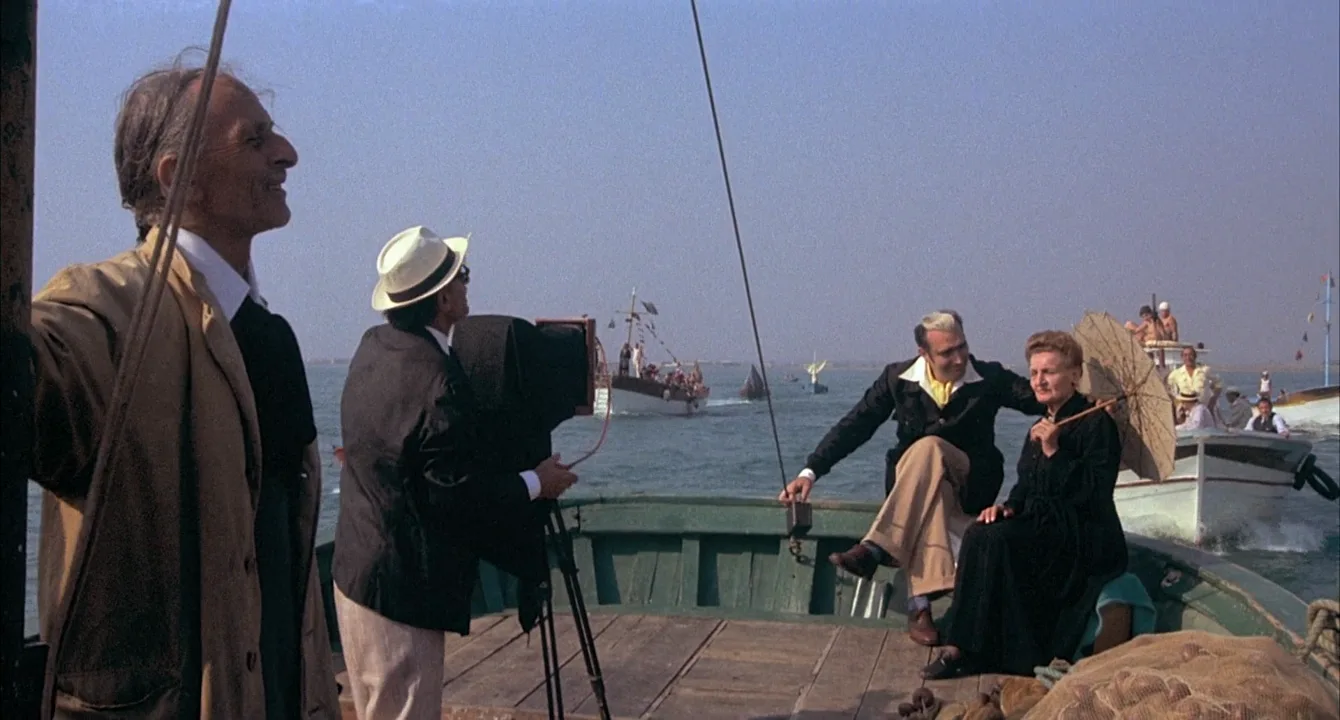
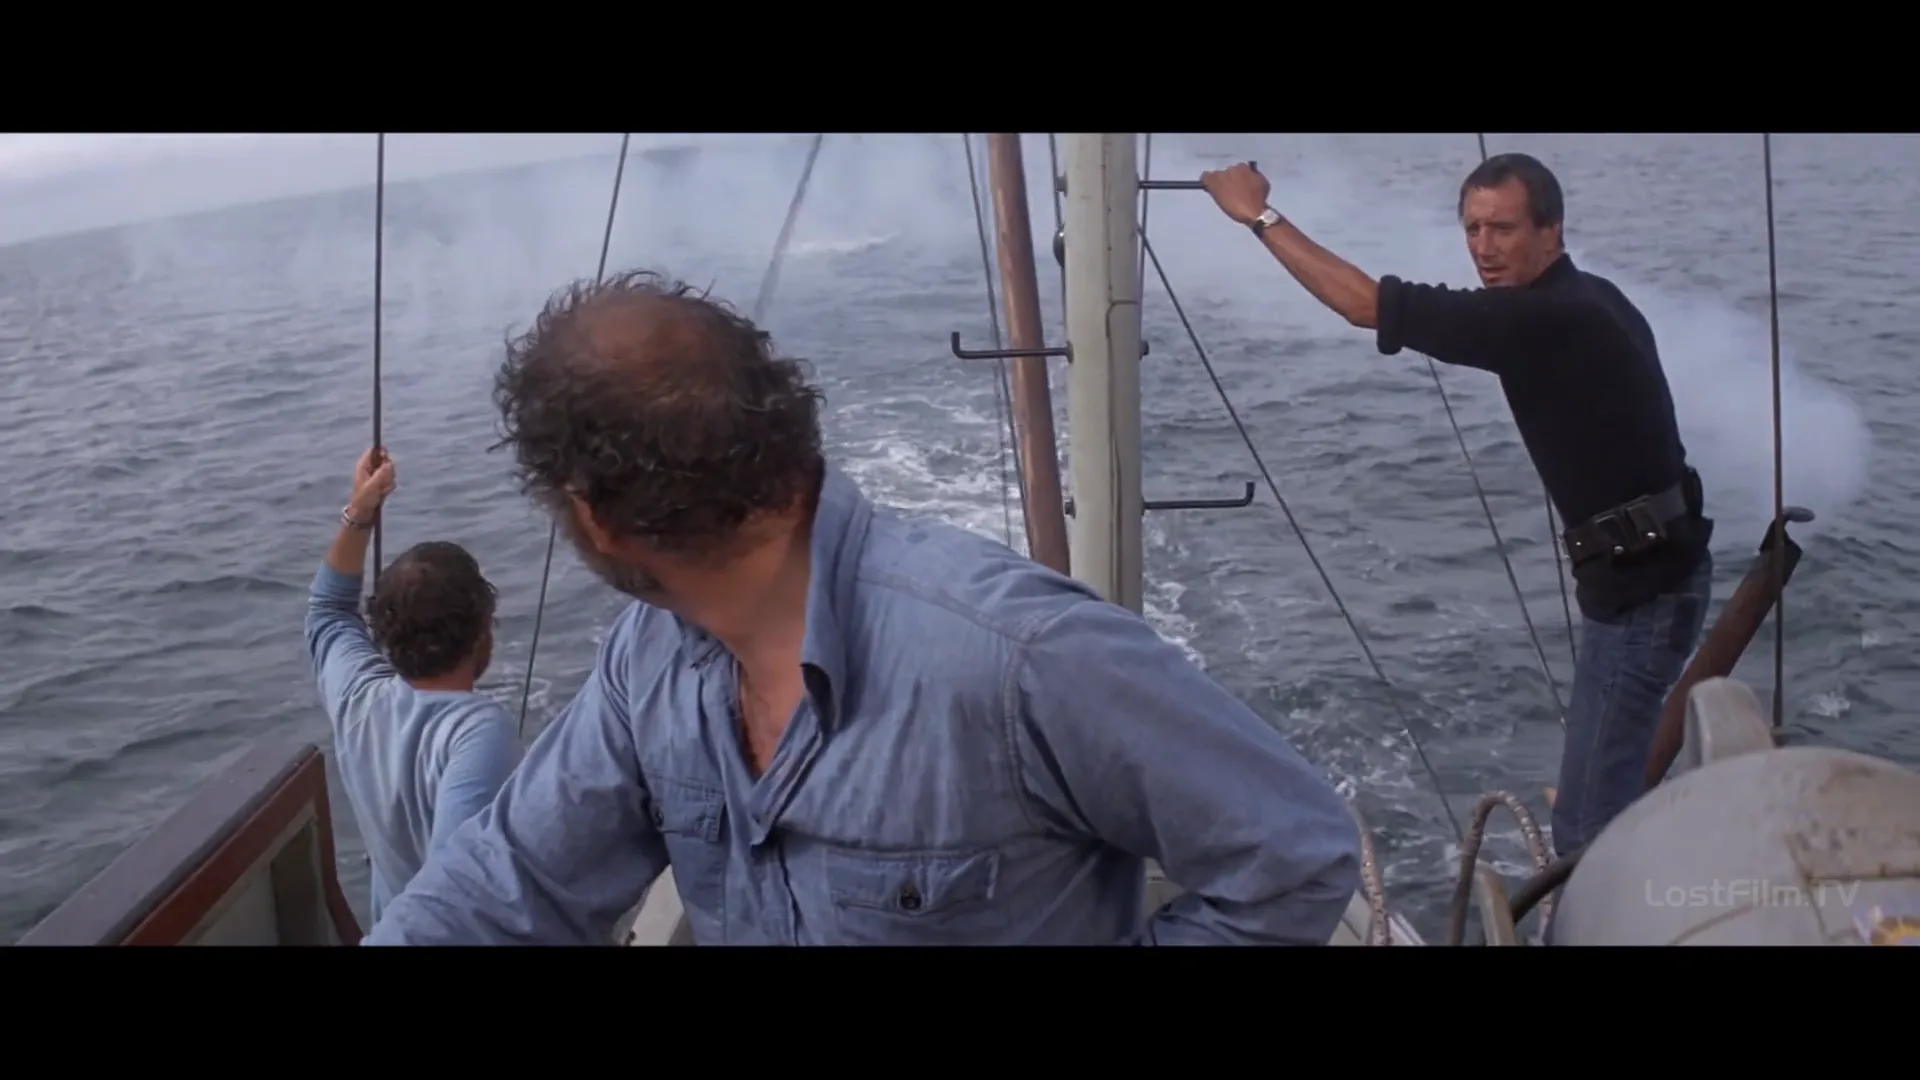
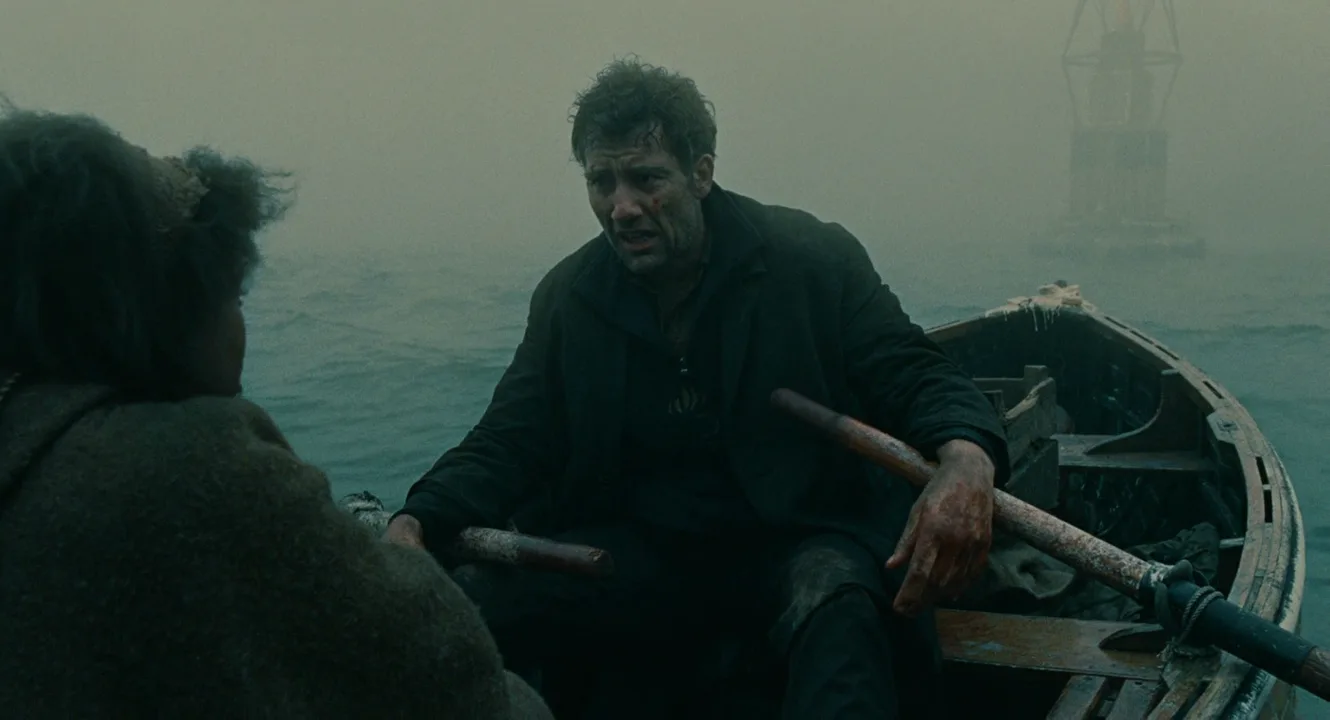
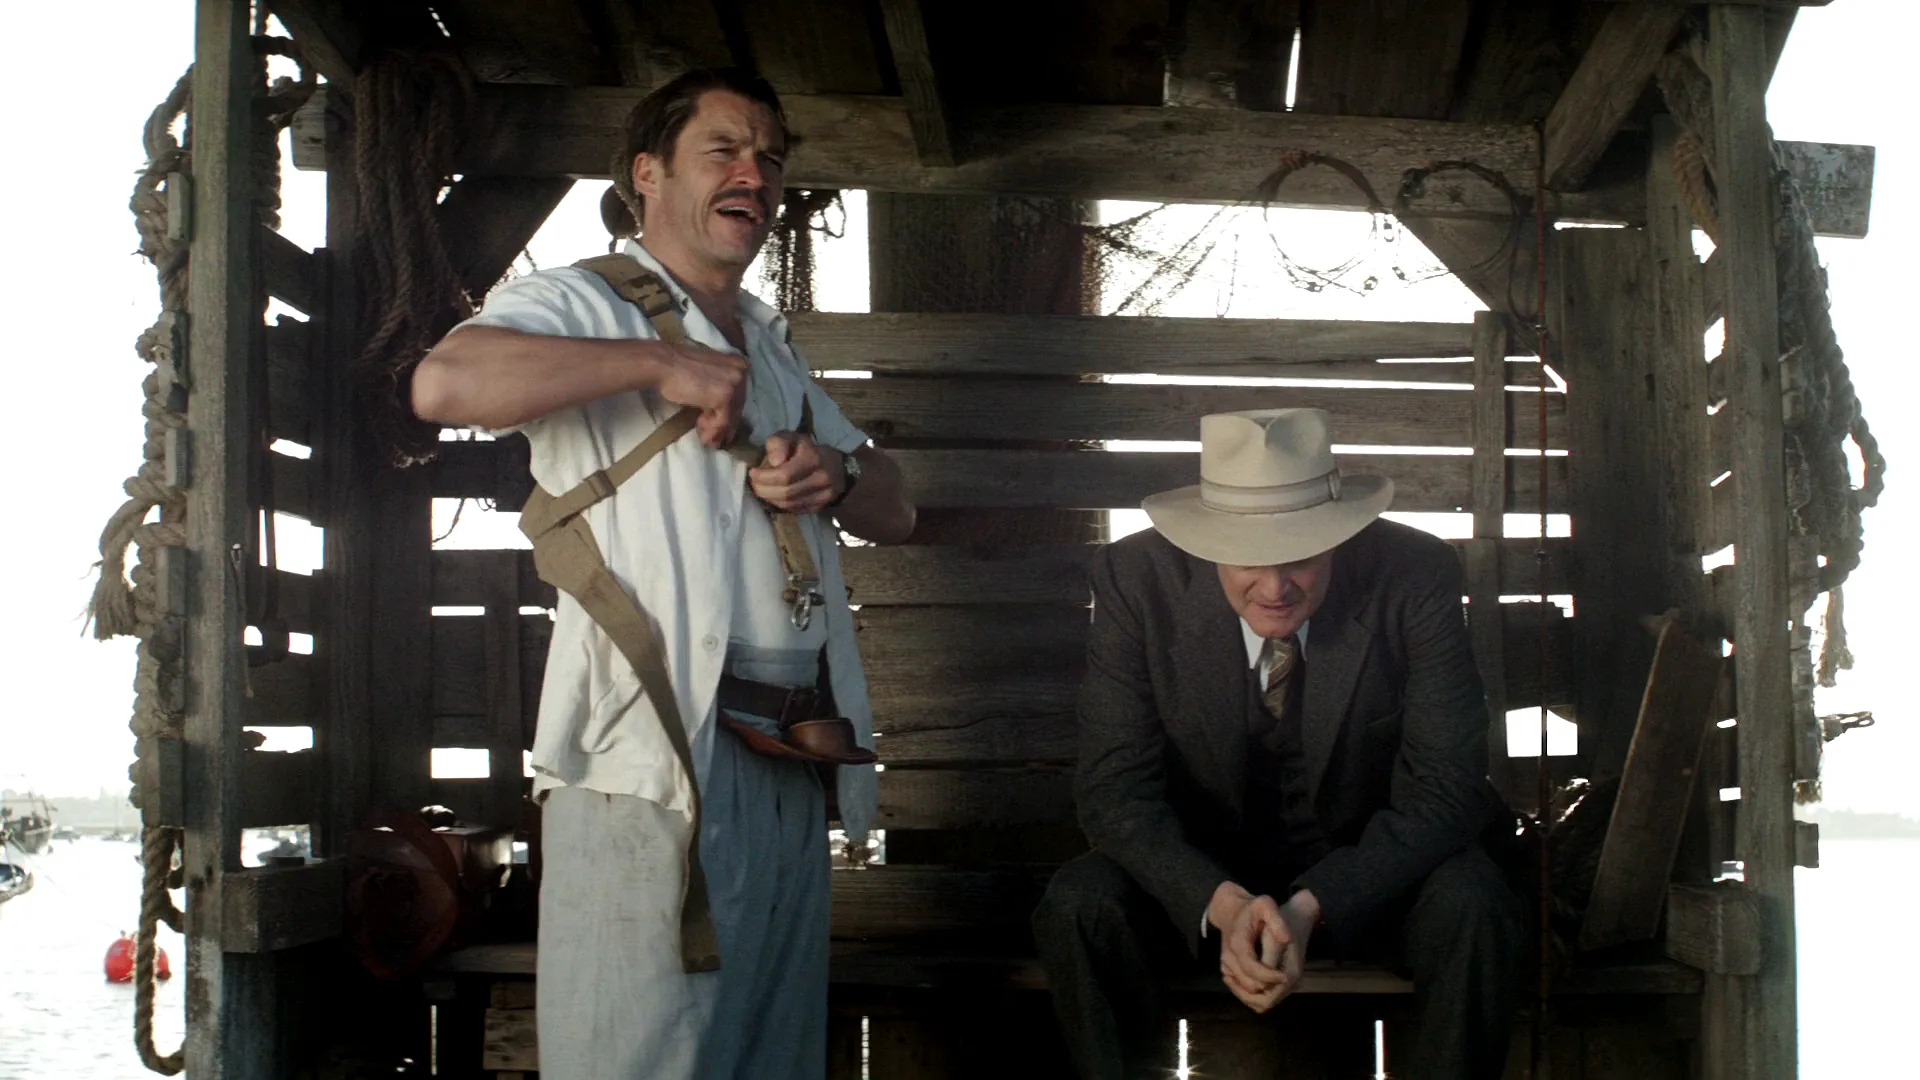
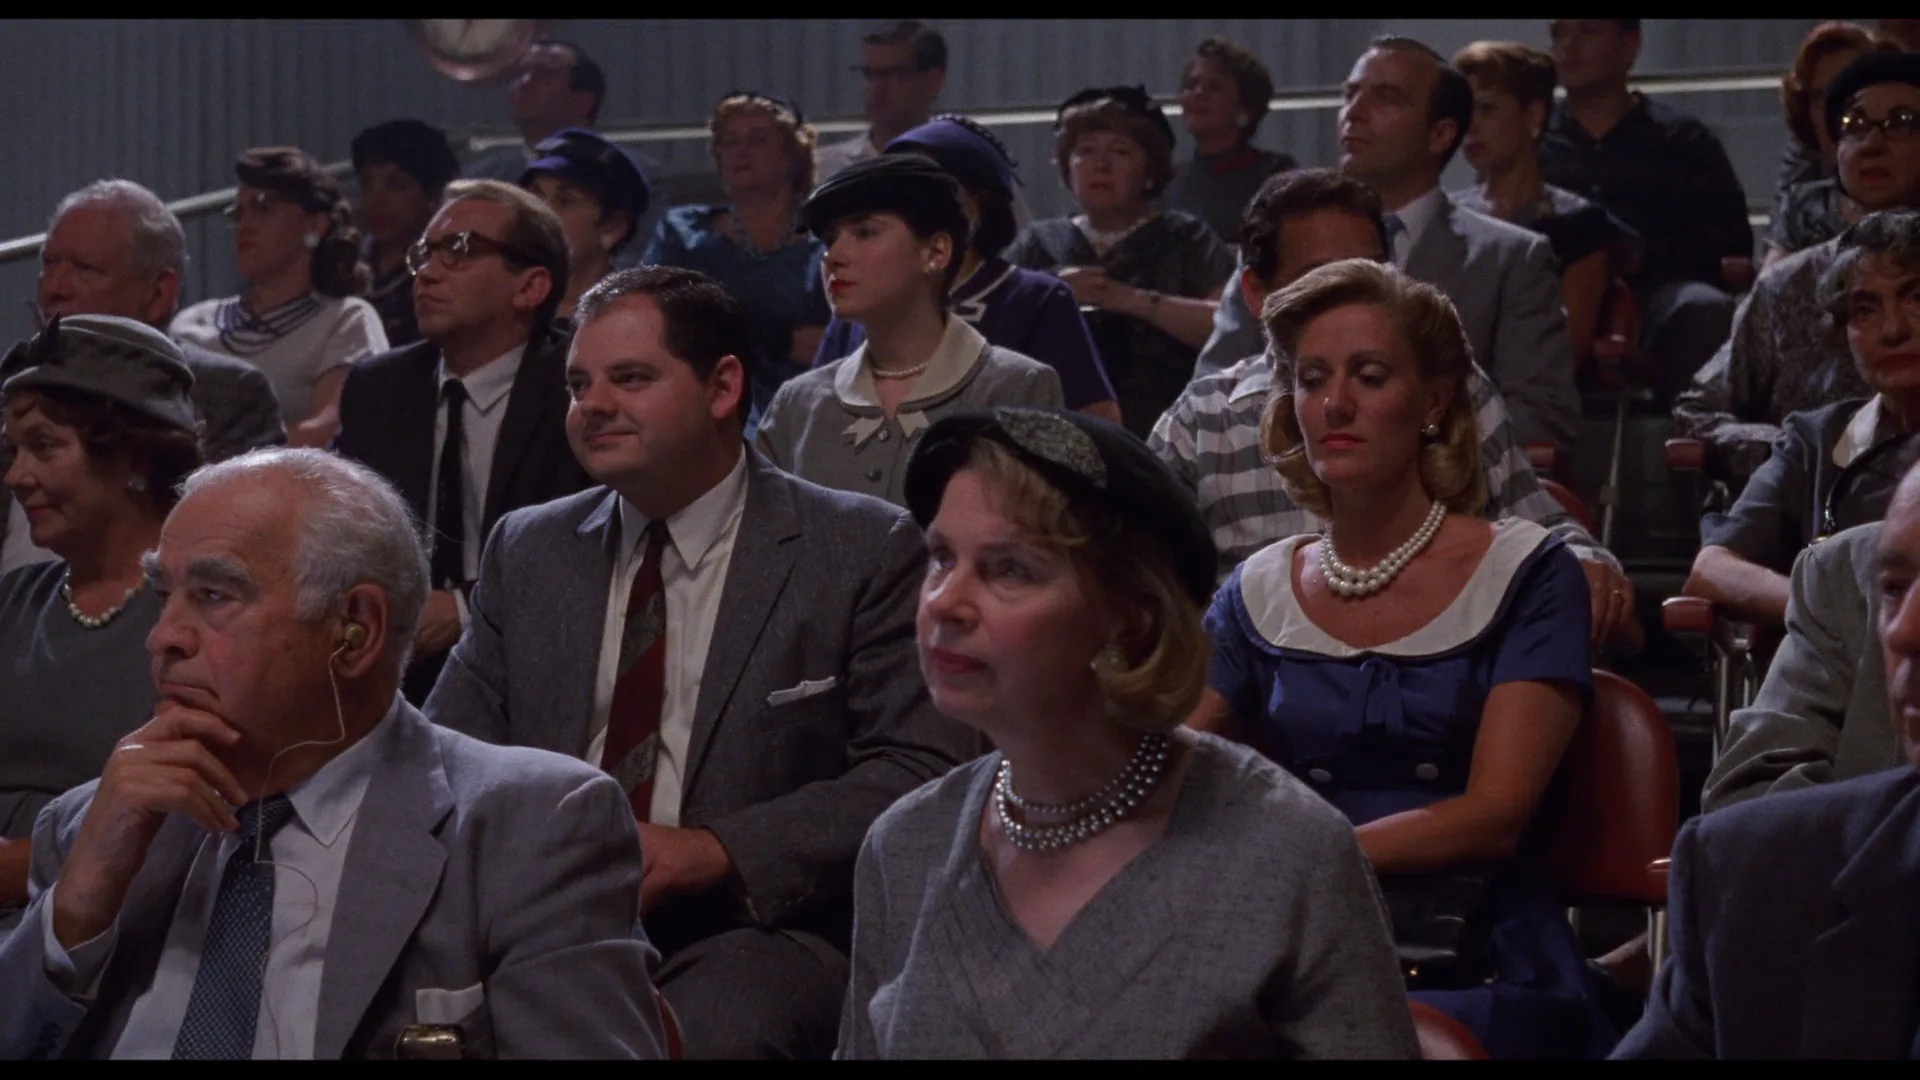
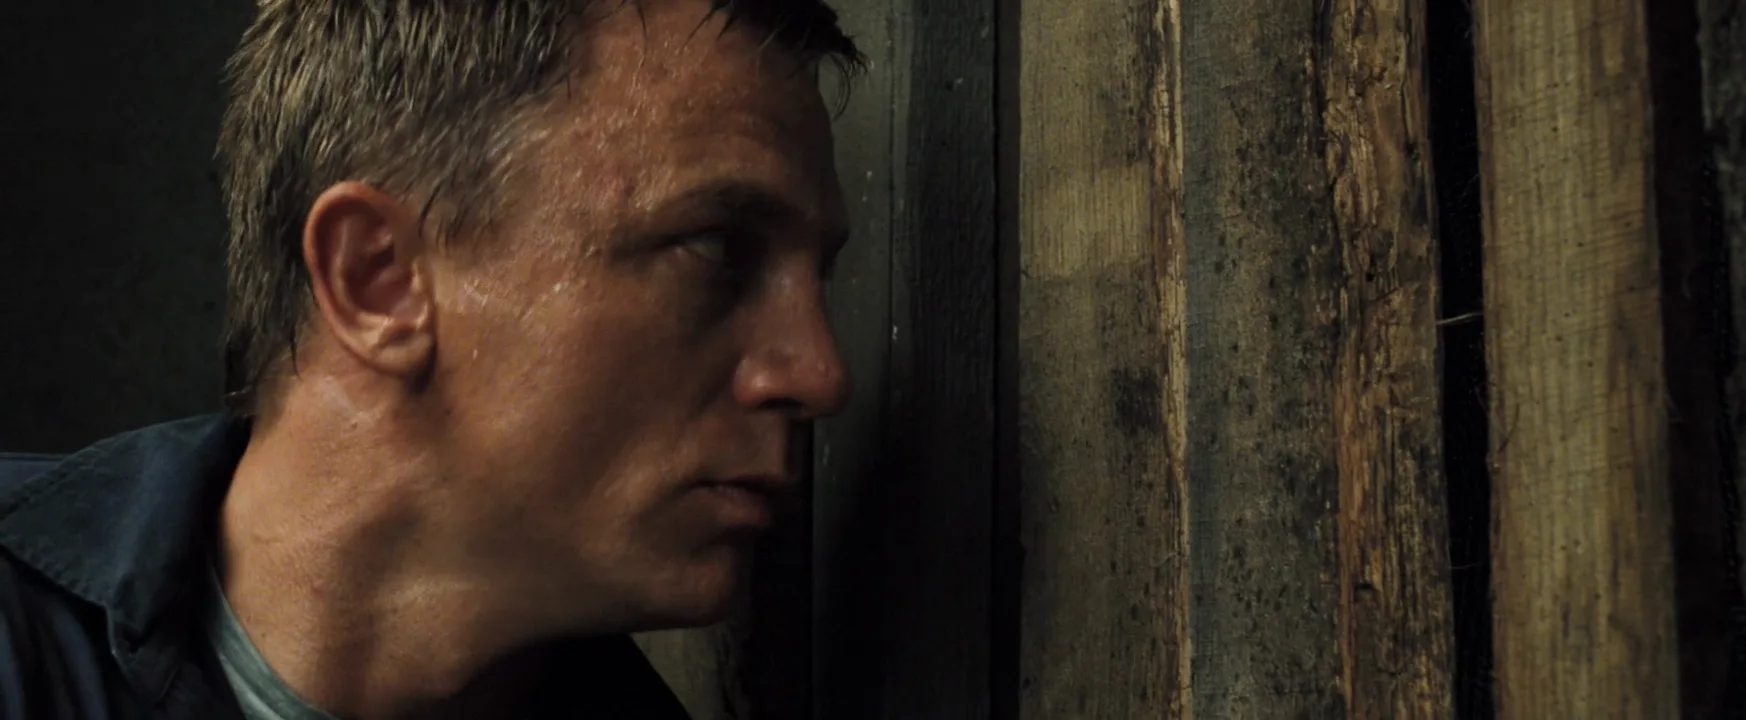
9 framesSingle setups, several from boat scenes. Read each one as one piece of a larger coverage plan.
How to create a coverage with AI
4 promptsWith AI you can preview coverage before the shoot: generate the master, then the matching setups with the same character and light descriptions, and animate the master to test timing. Lay the setups out in cut order on one FlashBoards board. The fourth prompt re-shoots a real film shot from a text description alone, and the original plays next to the result so you can compare.
Master shot of a two-person dialogue scene, medium wide, 32mm lens, camera at seated eye level, side-on to a small kitchen table at night. Frame left: a woman in her sixties with a long silver braid, deep laugh lines and a green cardigan, both hands around a white mug. Frame right: a man in his thirties with a shaved head, a short copper-red beard and a grey canvas work jacket, leaning forward on his elbows. They face each other in profile. Warm pendant lamp above the table, rain-streaked window behind them, blue night outside. 35mm film still.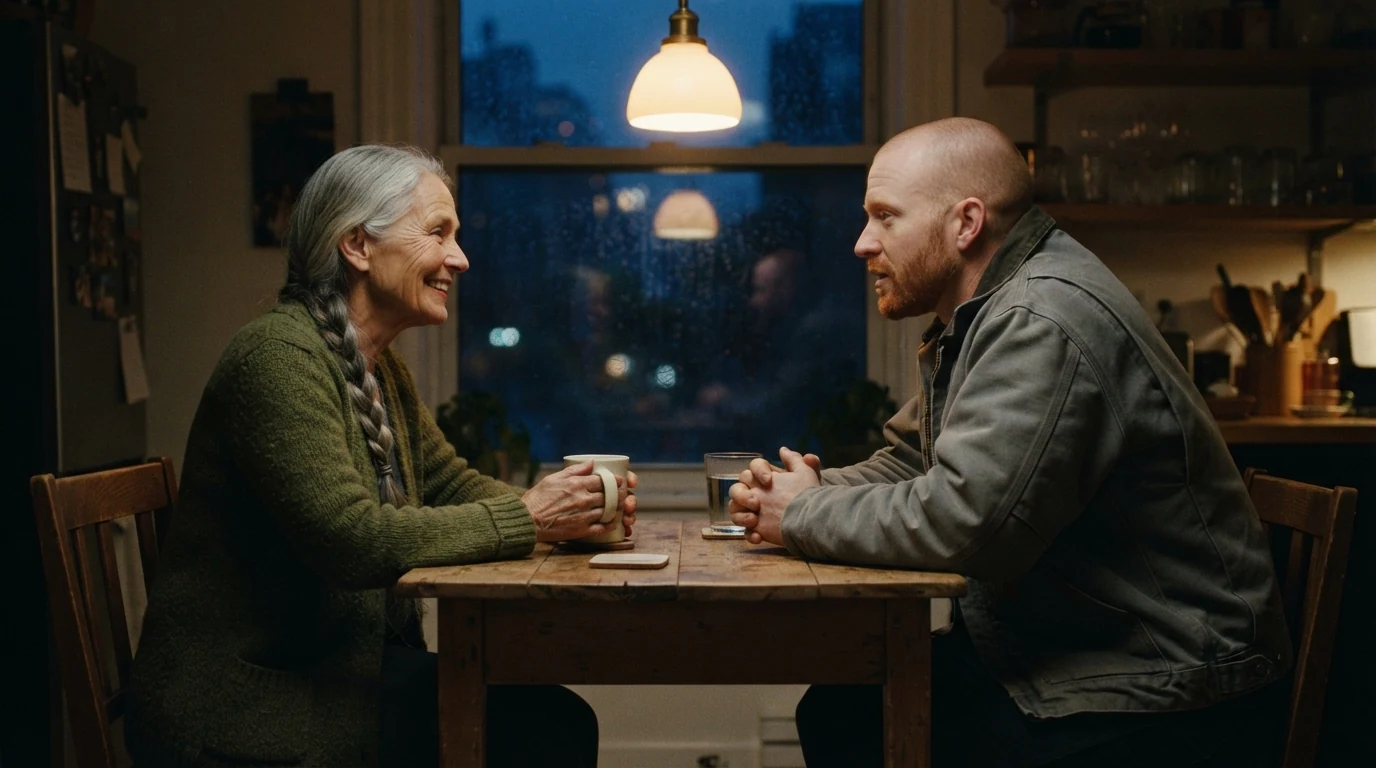
Master shot, medium wide and side-on set up the axis. Frame left / frame right fix screen direction. Copy the faces and clothes word for word into every coverage prompt.
Open FlashBoardsOver-the-shoulder coverage shot from the same kitchen scene, 50mm lens, camera behind the man's left shoulder at seated eye level. Foreground right third: the back of his shaved head and the shoulder of his grey canvas work jacket, soft and dark. Left third, sharp: a woman in her sixties with a long silver braid, deep laugh lines and a green cardigan, both hands around a white mug, looking just right of the lens at him. Warm pendant lamp above, rain-streaked window behind her, blue night. 35mm film still.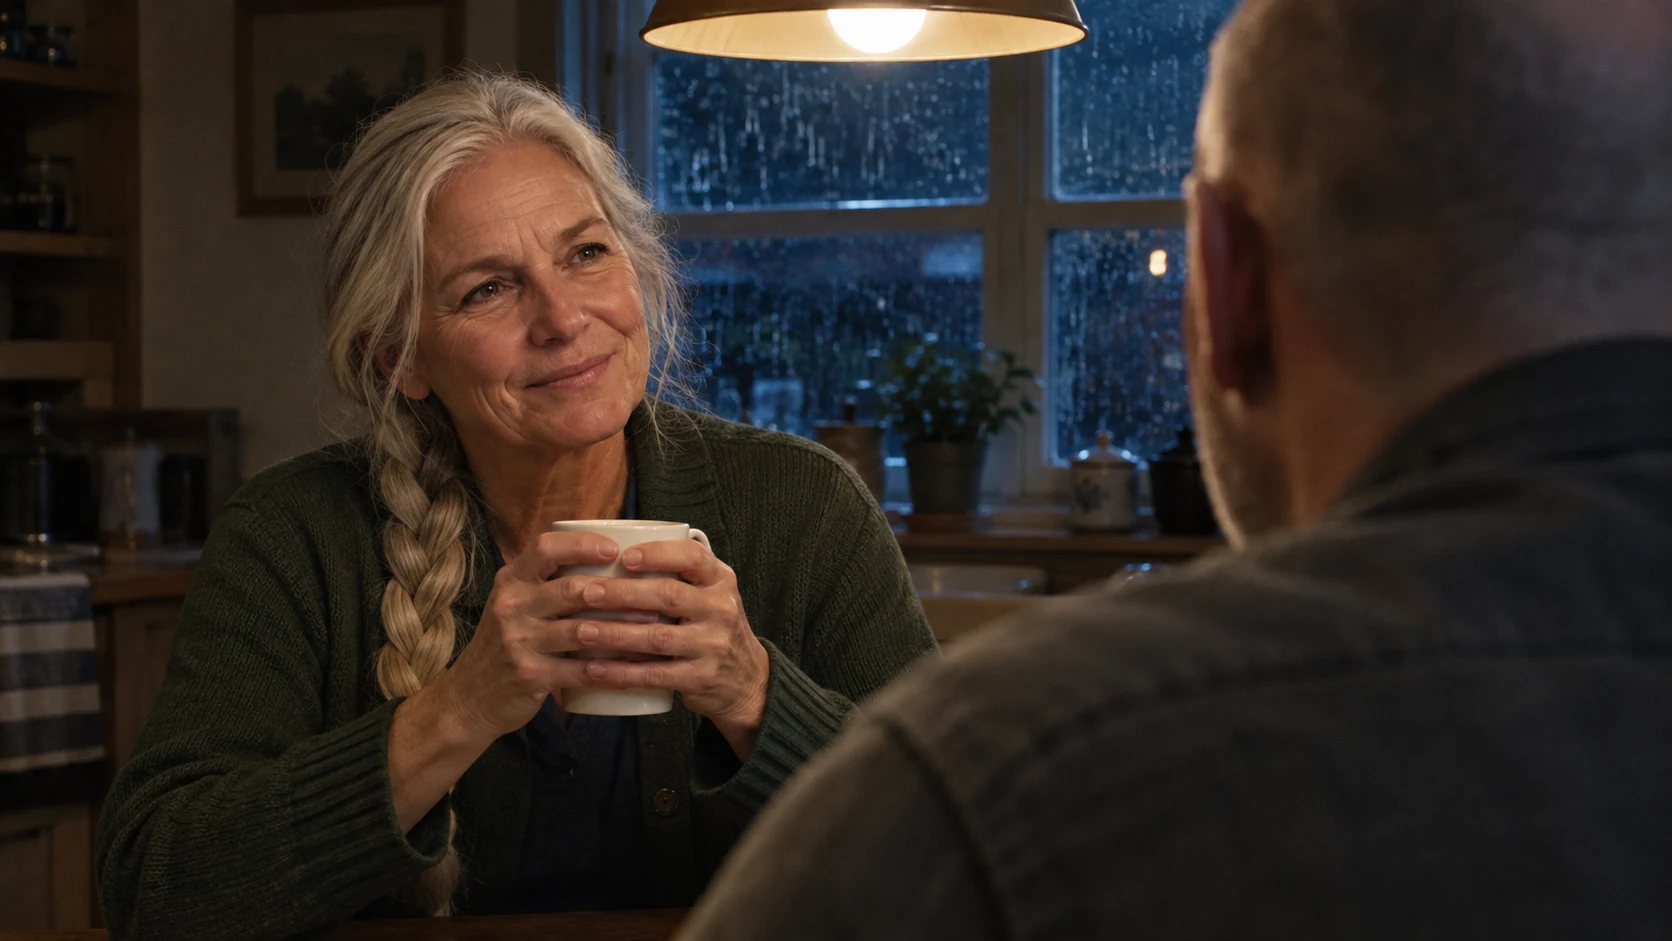
This is the next setup. Behind the man's left shoulder keeps the camera on the same side of the line, and just right of the lens matches the eyeline from the master. The repeated lamp and window keep the light matched.
Open FlashBoardsCamera: locked-off tripod, holding the same medium wide frame for the whole shot. Action: The man is already talking, tapping one finger on the table as he leans toward her. The woman lowers her mug to the table and answers him calmly. He sits back in his chair and rubs his beard, and she keeps her eyes on him. Rain keeps running down the window behind them.A master plays the whole action so tighter setups can match it. Already talking makes the clip move from the first frame, and setting down the mug and leaning back are the moves an editor would cut on.
Open FlashBoards{
"output": "Full-screen live-action scene from Genius (2016) from its very first frame: one continuous shot. A locked-off medium wide master two-shot inside a tall open wooden shed on a harbor pier, 1930s Key West. 35mm film look, hard white midday daylight blown out through the gaps between the vertical wooden slats behind the men, interior in cool shade, weathered gray-brown timber, coiled ropes hanging on the posts at both frame edges, a red float at lower left.",
"characters": {
"S1": {
"name": "Ernest Hemingway, played by Dominic West",
"look": "stocky man in his late thirties, thick black mustache, short dark hair, loose white short-sleeved shirt hanging open, pale gray work trousers, a tan canvas harness strap across his chest and over one shoulder, dark leather belt with a pouch at the hip",
"voice": "deep, easy, amused"
},
"S2": {
"name": "Max Perkins, played by Colin Firth",
"look": "slim man in his forties, charcoal three-piece suit, striped tie, cream straw hat with a black band",
"voice": "dry, polite, quiet New England"
}
},
"shots": [
{
"shot": 1,
"camera": "static tripod at standing chest height, 35mm lens, frontal medium wide master that holds both men head to knees for the whole shot, no camera movement; S1 stands in the left third, near; S2 sits on a low plank bench in the right third, slightly deeper",
"action": [
"BEGINNING: alive from the first frame, S1 stands with head bowed, both hands at his waist working the buckle of the canvas harness; S2 sits upright, hands resting on his knees, head tilted down under the hat brim toward S1, lips moving.",
"THEN: S1 lifts his head and turns it toward S2 with a broad grin while both hands keep tugging the strap at his belly; S2 looks back at him and smiles, hands still on his knees.",
"THEN: S2 leans forward, forearms on his thighs, and clasps his hands between his knees, head bowed, eyes on the floor; S1 raises his chin and looks off past S2, talking.",
"THEN: S1 lifts his screen-left arm high and drags the harness strap up over his shoulder, the white shirt pulling open; S2 stays hunched, hands clasped, not moving.",
"THEN: S1 turns away and puts his back fully to the camera, stepping toward frame centre and bending to set the strap down low in front of him.",
"END: S2 raises his head and looks up at S1's back from under the hat brim and speaks; S1 stays with his back to the camera, busy with his hands."
],
"dialogue": [
{
"speaker": "S2",
"on_screen": true,
"when": "from the first frame",
"delivery": "dry, gently teasing",
"line": "<d>[English] You've already done a bullfighting book.</d>"
},
{
"speaker": "S1",
"on_screen": true,
"when": "as he lifts his head and grins at S2",
"delivery": "easy, amused",
"line": "<d>[English] Nah, it's not bullfighting this time.</d>"
},
{
"speaker": "S1",
"on_screen": true,
"when": "while S2 leans forward and clasps his hands",
"delivery": "lower, wry",
"line": "<d>[English] World's gone beyond that, I'm afraid.</d>"
},
{
"speaker": "S1",
"on_screen": true,
"when": "as he drags the strap over his shoulder",
"delivery": "flat, certain",
"line": "<d>[English] It's war that's coming.</d>"
},
{
"speaker": "S2",
"on_screen": true,
"when": "after S1 has turned his back, at the end of the shot",
"delivery": "quiet, concerned",
"line": "<d>[English] And you need to be there?</d>"
}
]
}
],
"sound": {
"ambience": "slow harbor water lapping under the pier heard from outside, gulls far off, timber creaking, the canvas strap rustling",
"speech": "exactly these spoken phrases, each said once, in this order",
"never_spoken": "no narration and no voice-over: the descriptions, performance notes and step words of this prompt are never spoken aloud",
"music": "a film score under the scene, always below the voices: soft solo piano over warm low strings, unhurried and slightly wistful",
"subtitles": "none"
}
}It remakes the pier-shed master from Genius (2016), keeping Hemingway and Perkins, their five spoken lines, the static frontal two-shot, the strap pulled off over the head and Perkins looking up at the end.
A master holds both people in one locked-off frame and plays the whole exchange, so singles and reactions can match it later. Hemingway pulling the strap over his head is the move an editor would cut on.
Open FlashBoardsCommon mistakes
- Faces drift between setups. Paste the same character text into every prompt and compare takes side by side.
- Screen direction flips. Name the shoulder the camera is behind and each person's side of frame.
- Eyelines hit the lens. Write looking just left of the lens, or the single becomes direct address.
- Light changes. Repeat the same sources in every prompt.
Keep the reference frames, prompts and every generated take side by side — images and video in one canvas.
FAQ
4 questionsWhat does coverage mean in film?
Coverage is every shot filmed for one scene: the wide master plus closer angles that repeat the same action. Together they let the editor decide when to go wide or tight, whose face to show and how fast the scene moves, without a reshoot.
How many shots do you need to cover a scene?
There is no fixed number. A simple two-person dialogue often plays in five setups: a master, an over-the-shoulder on each actor and a close-up on each. Ensembles add two-shots, group singles and reactions. A scene staged as one continuous move may need only that take plus a safety angle.
What is the difference between coverage and a master shot?
The master shot is one setup: a wide take of the entire scene that shows where everyone is. Coverage is the full set of setups for the scene, master included. On set, "getting coverage" usually means the closer angles filmed after the master, which the editor cuts into it.
How do you shoot coverage with one camera?
Shoot the master first. Next, shoot every setup facing one actor, then turn the camera and lights around for the other. Keep all setups on one side of the 180-degree line, and have actors repeat their moves on the same lines so the cuts match.
Related terms
6- Master ShotDirecting & Staging
A master shot records an entire scene in one continuous take, usually wide enough to hold every actor, and serves as the backbone the rest of the coverage is cut into.
- Shot Reverse ShotCamera Shots
Shot reverse shot alternates between two opposing camera setups — one on each character, typically over-the-shoulder shots or singles from the same side of the axis — so a conversation plays as a rhythmic back-and-forth.
- Over-the-Shoulder ShotCamera Shots
An over-the-shoulder shot looks at one character past the back of another's shoulder and head, keeping both in frame so a conversation feels connected and spatially anchored.
- Reaction ShotCamera Shots
A reaction shot cuts away from an action or line to show how another character responds — usually a close-up of their face — so the emotional meaning of the moment lands through the listener.
- Shot ListFilmmaking Process & Crew
A shot list is a scene-by-scene table of every planned setup — shot size, angle, movement, lens, action and notes — that tells the crew exactly what to capture and in what order on the day.
- Editing a Dialogue SceneEditing
Editing a dialogue scene means choosing when to show the speaker, the listener or both, and where to cut on lines, pauses and reactions so the conversation keeps its rhythm and subtext.
Further reading
Walter Murch, In the Blink of an Eye (Silman-James Press). Steven D. Katz, Film Directing Shot by Shot (Michael Wiese Productions).